Creating a New Task
There are two ways to create tasks:
At the bottom of a list column
Click + ADD TASK at the bottom of any column.At the top of a list column
Click the + icon at the top of the column to add a task to the top of that section.
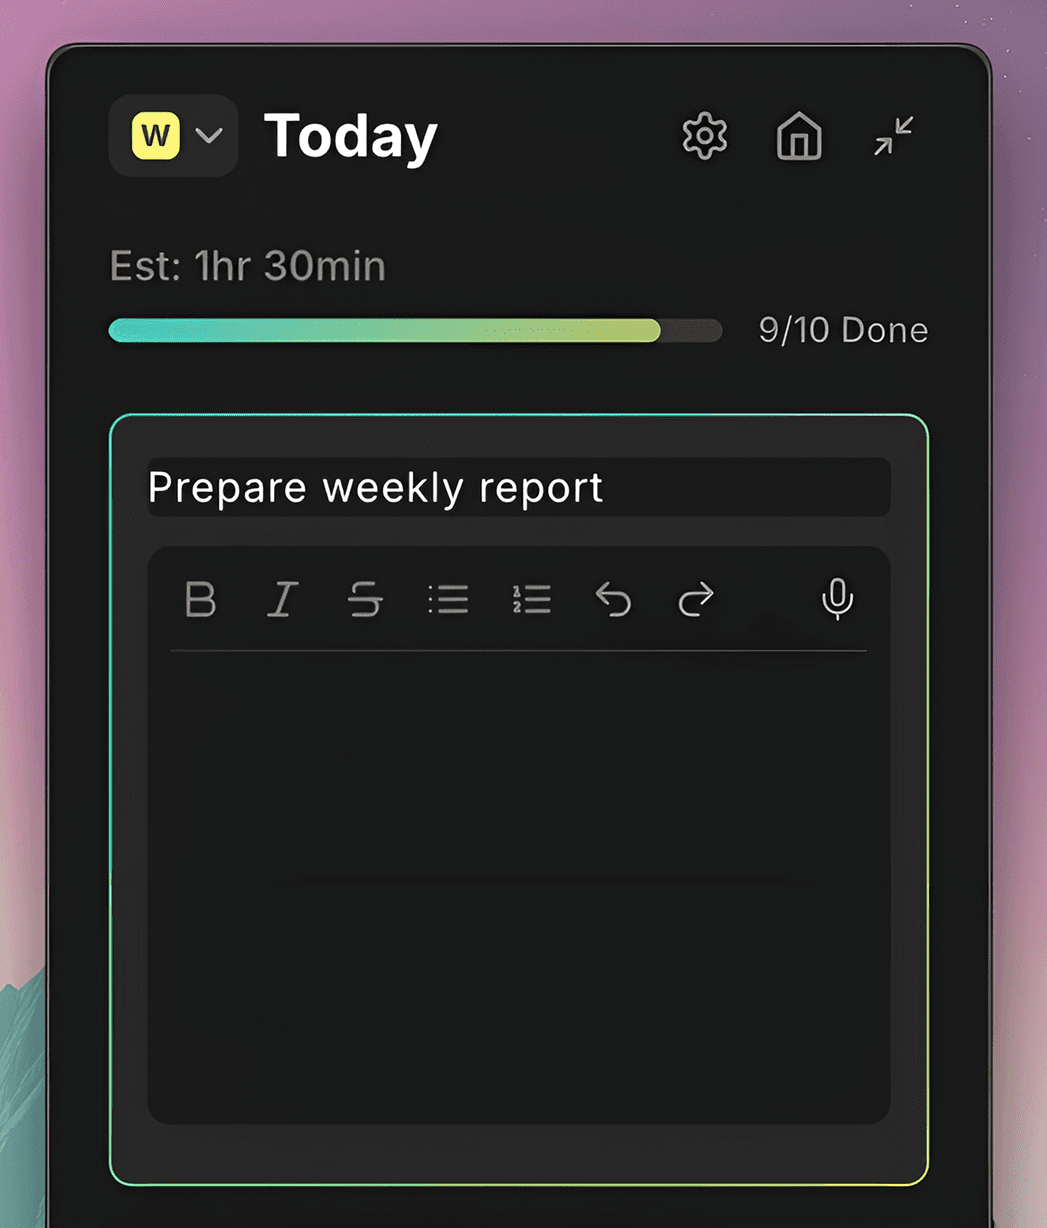
Editing a Task Title
Click the task title to edit it.
Note: If the task is on a live timer, you can only edit the title in Notes mode. (See the Notes article for more details about this feature).
Prioritizing Your Tasks
Tasks are prioritized by placing them in the correct list columns:
Backlog — tasks planned beyond 1 week
This week — tasks for the current week
Today — tasks you want to do today
You can change priority by:
Dragging and dropping tasks between columns
Reordering tasks within a column (top = highest priority)
Using the back/forward arrow icons that appear when you hover over a task
In Focus Mode, the top task in the Today column is the first to go live, followed by tasks in the order they appear.

Setting Task Time Estimates (EST)
Task time estimates (EST) represent how long you expect the task to take. Being realistic helps with planning and time management.
There are three ways to set EST:
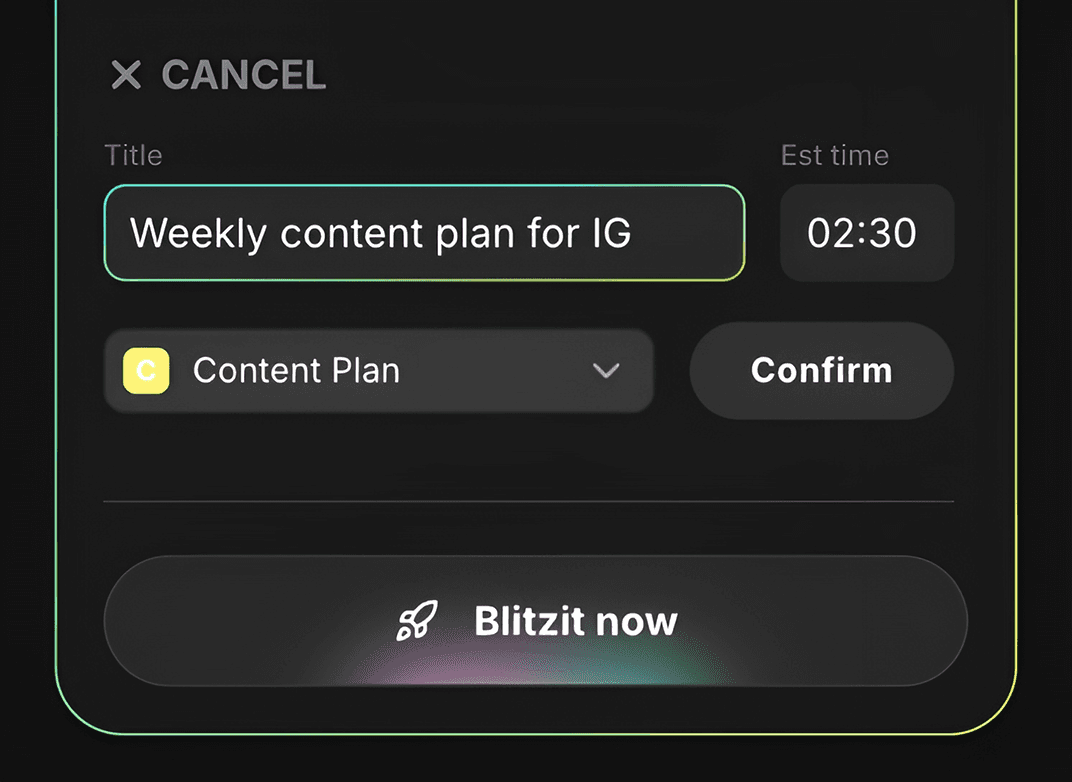
1. During task creation
Enter the estimate in the EST field using the HH:MM format.
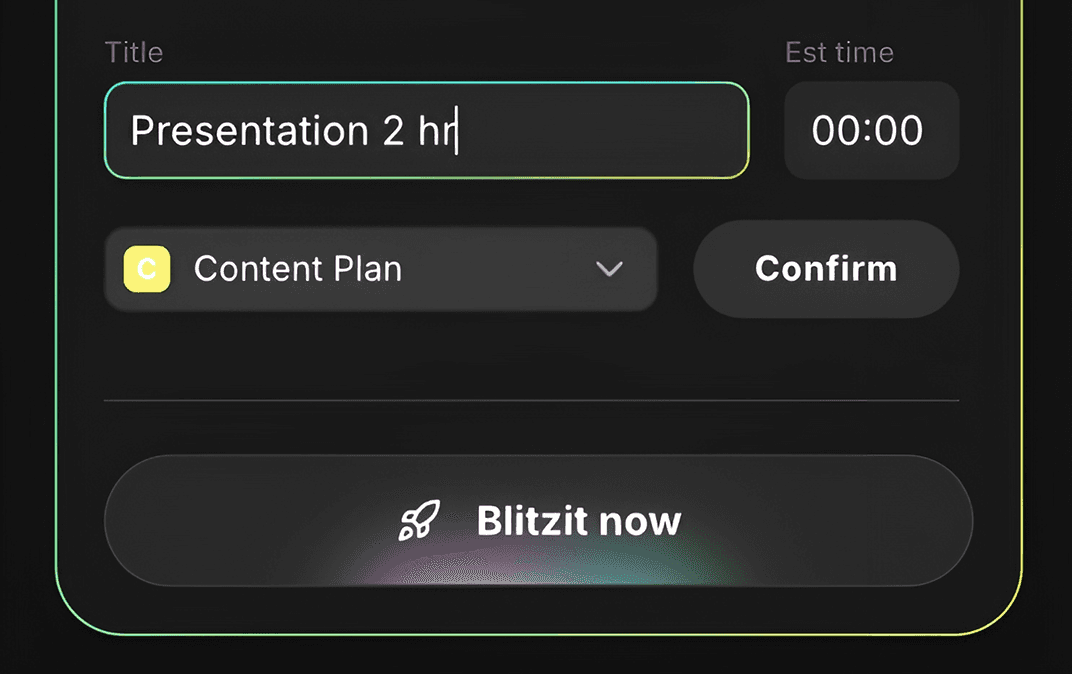
2. Typing EST into the task title
Blitzit automatically detects and parses time estimates typed at the end of your title.
Examples:
Prepare slides 28 min → 00:28
Write blog post 1 hr → 01:00
Email campaign 2hr 15min → 02:15
Supported formats:
Minutes:
28minHours:
1hr,1 hour,2hrs,2 hours
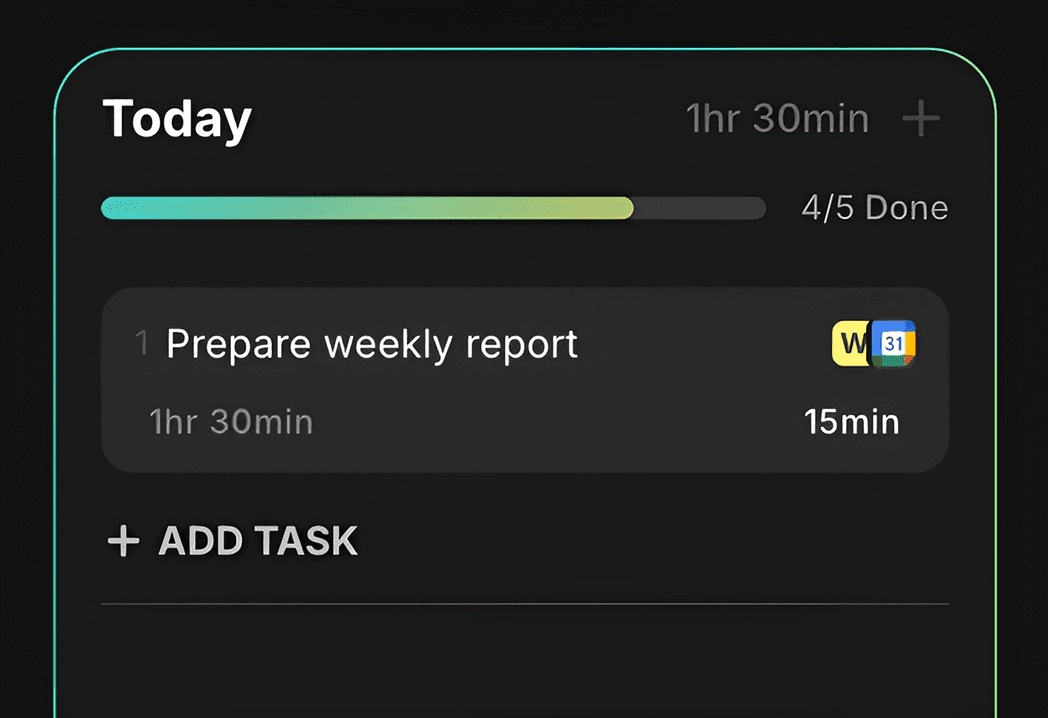
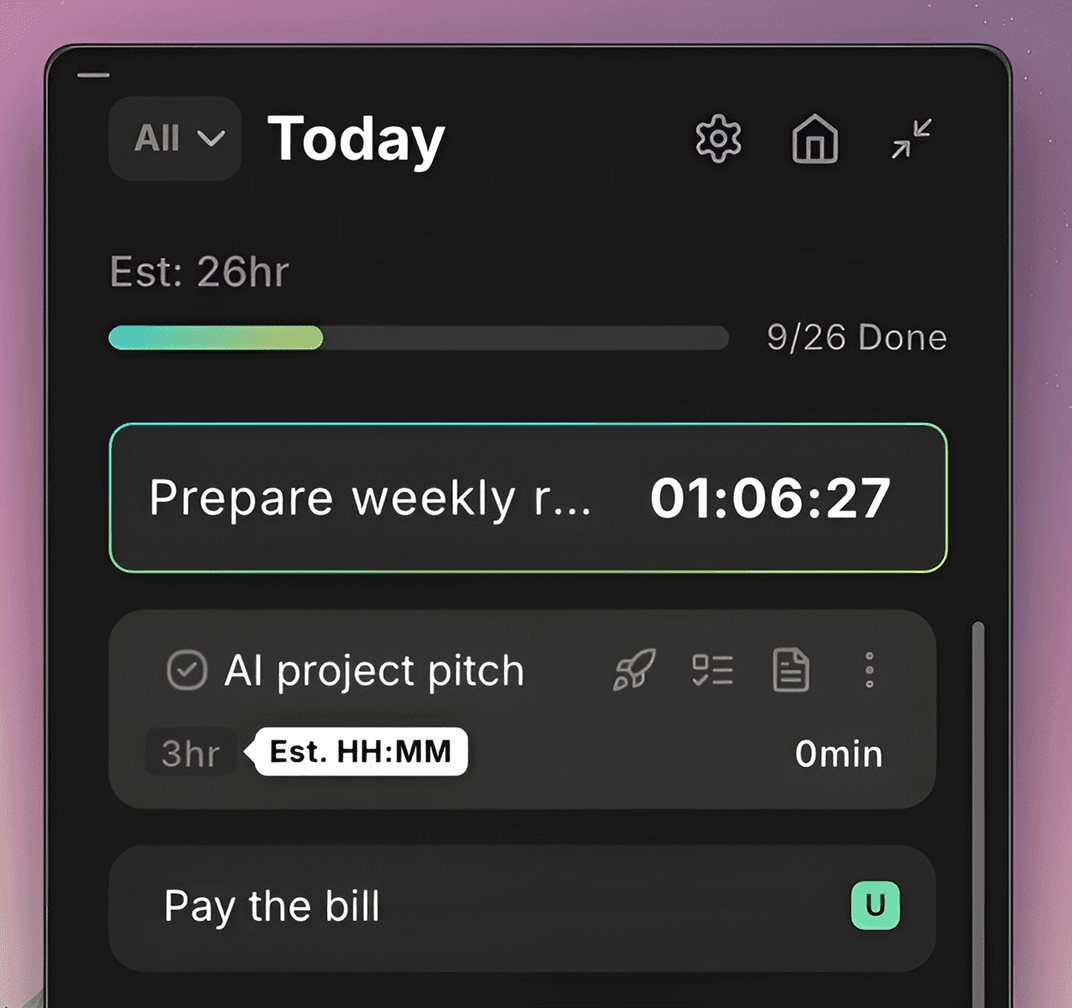
3. Using the EST numerical field
On each task, you can enter EST directly through the bottom-left numerical field (format: HH:MM).
Note: If a task is running on a live timer, you can only edit EST while the timer is paused.
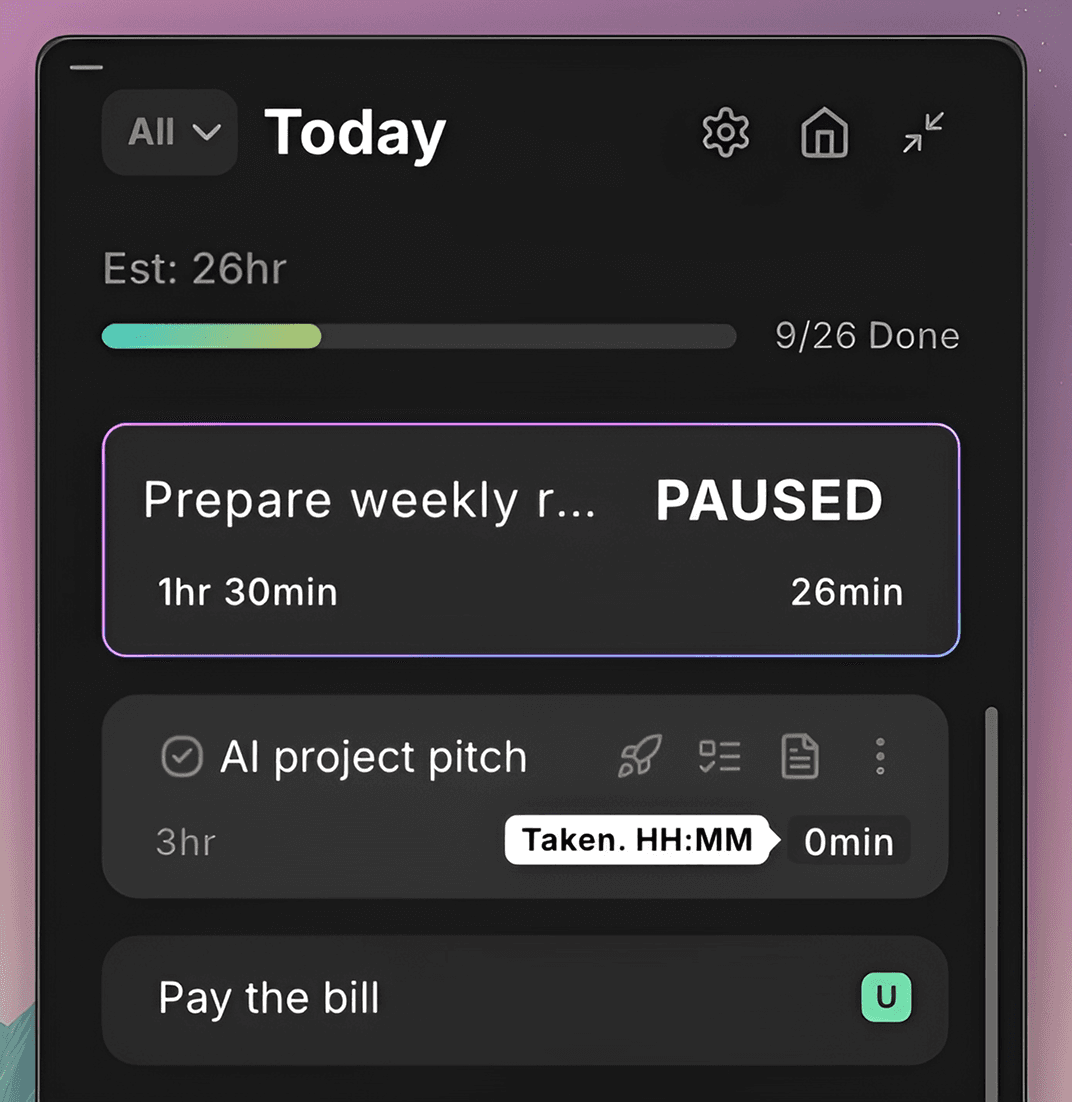
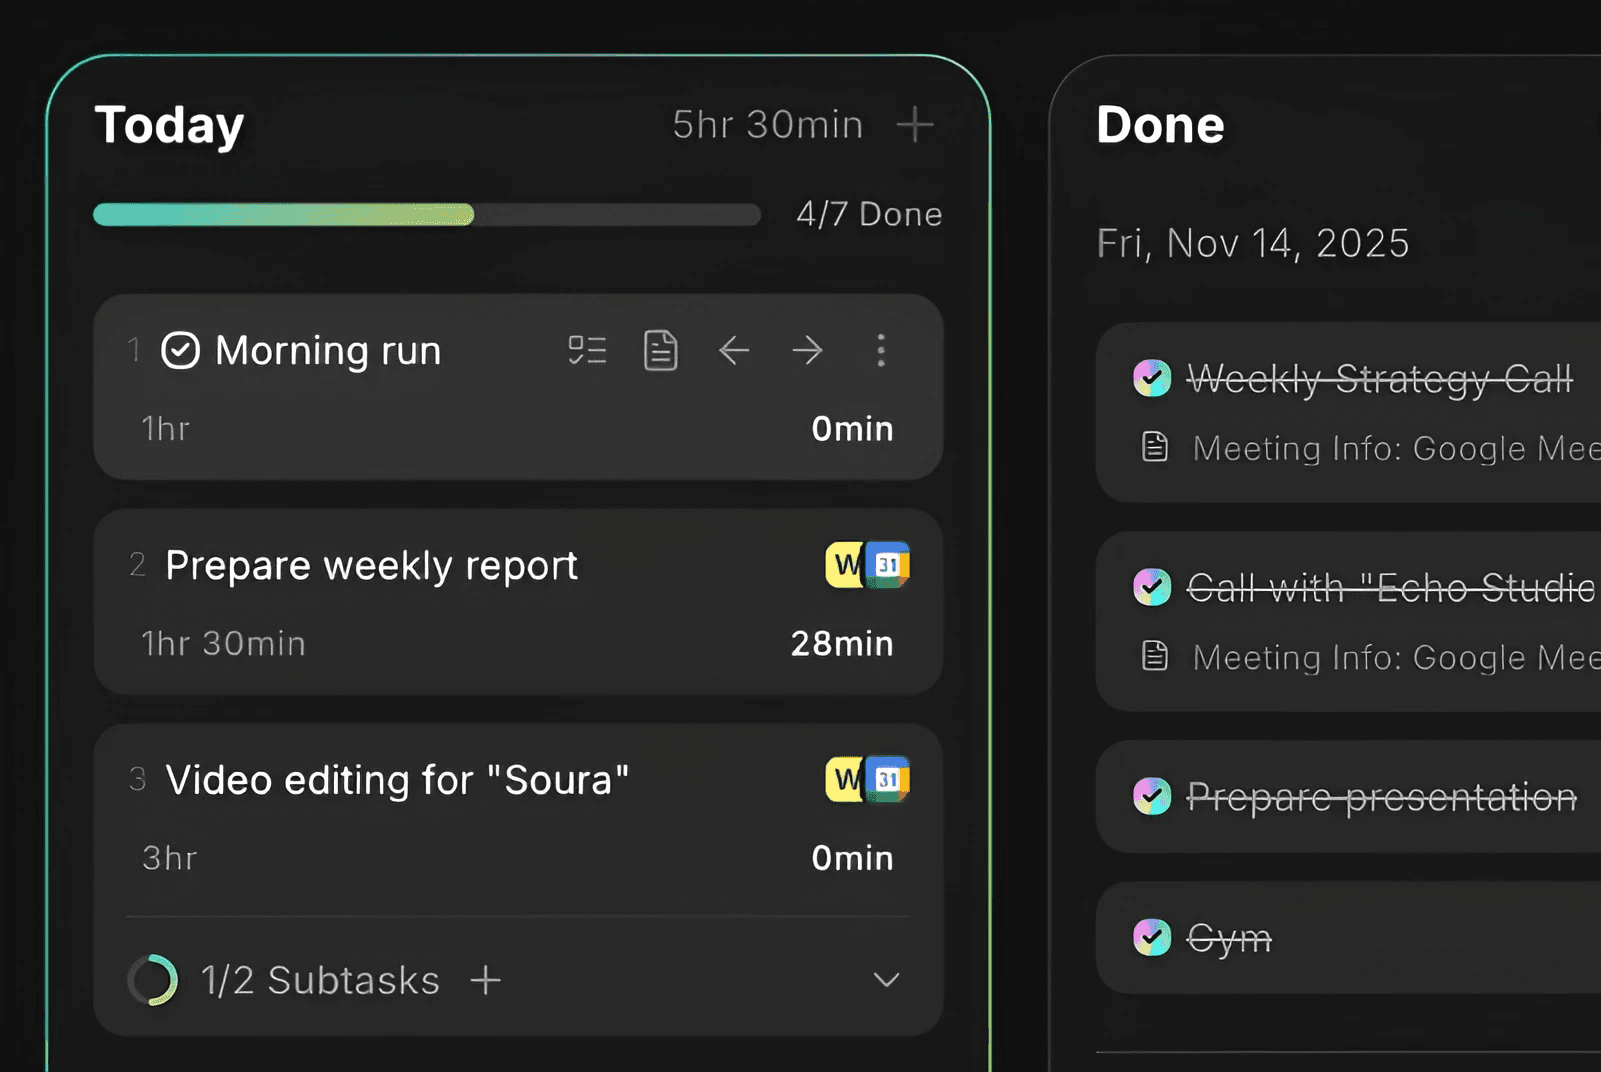
Time Taken
Time Taken represents how much time you have actually spent working on the task so far.
This is automatically tracked when you start a live timer.
You can also edit Time Taken manually using the bottom-right numerical field (HH:MM).
Note: If the task is on a live timer, you can only edit Time Taken while the timer is paused.
Marking Tasks as Done
There are two ways to mark tasks as done:
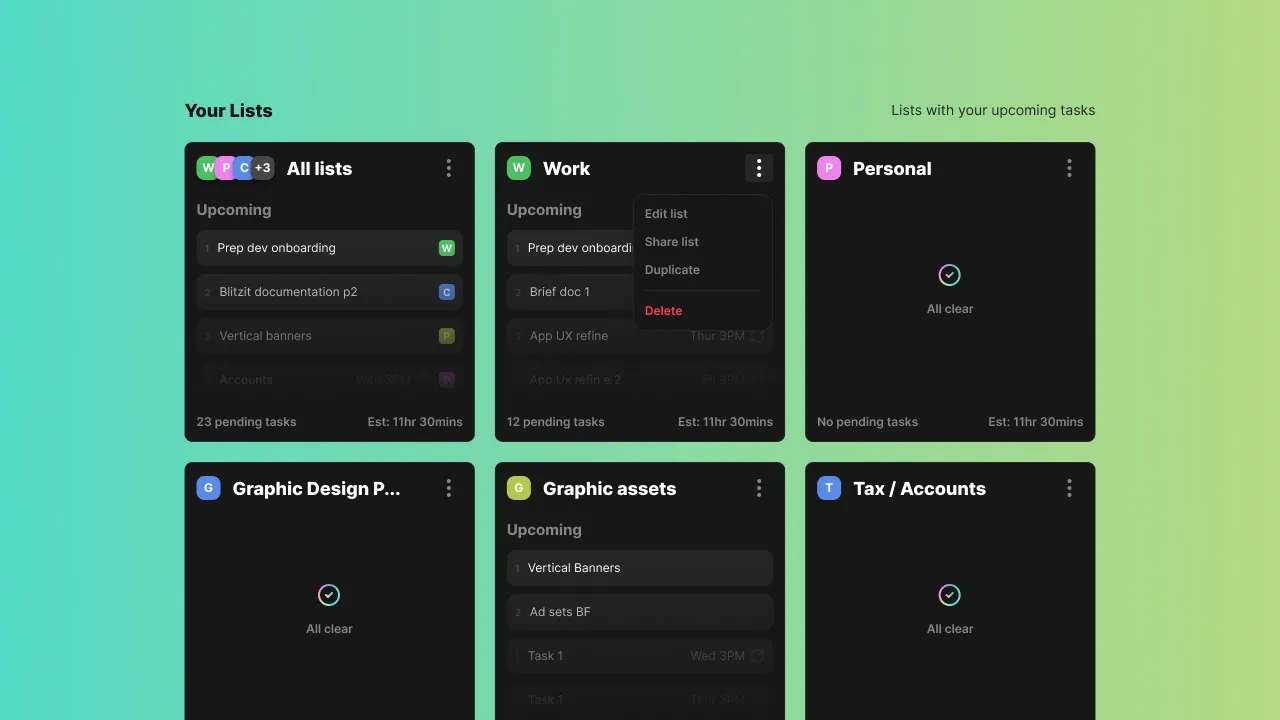
From List View
Hover over a task and click the checkbox
→ The task moves automatically to the Done columnDrag/drop the task into the Done column
Use the arrow icons to move it across
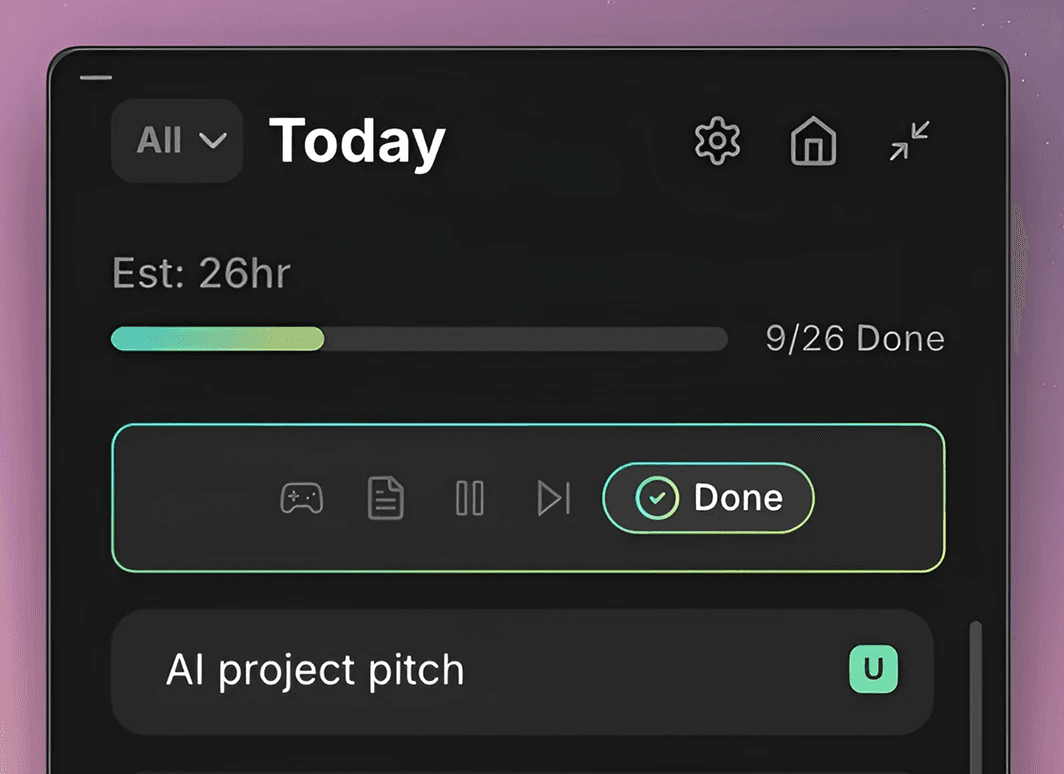
From Blitz Session (Focus Mode)
For the active live task: hover over it and click Done on the right
→ You’ll see the gamified completion moment with a fun GIF or messageFor other tasks in the list below: hover and click the checkbox on the left
→ They move into the Done section automatically